SOL C/T 6-8.5, C/T 6-8.8
Objective: Use the clone tool
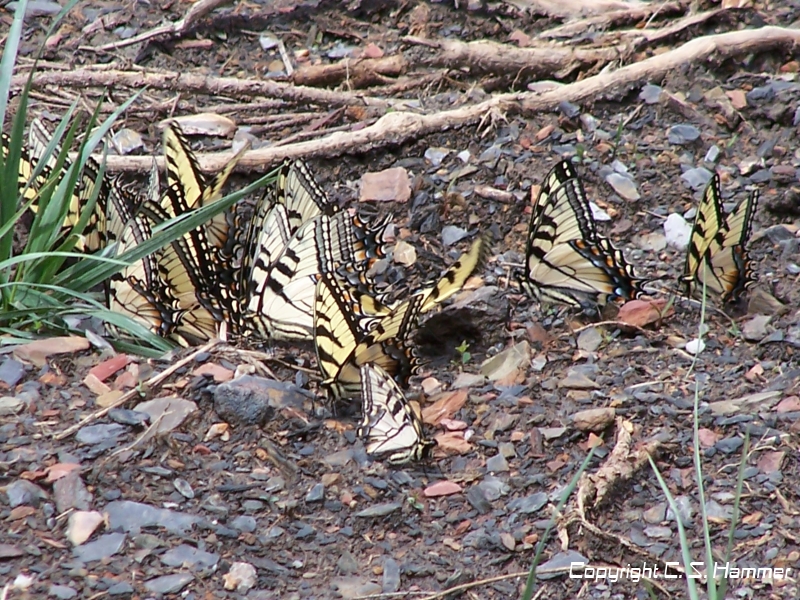
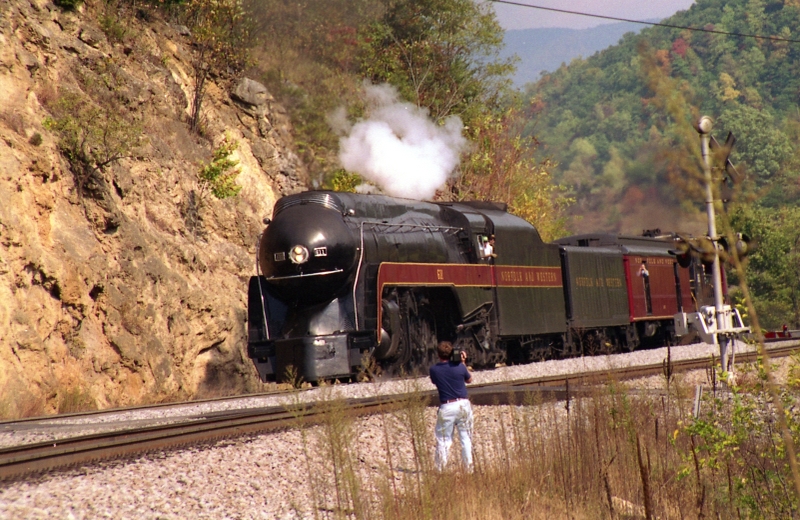
![]() to add two extra
butterflies to the first picture, and 1 deer to the second picture.
to add two extra
butterflies to the first picture, and 1 deer to the second picture.
Create a Flow map in PowerPoint that explains the steps involved in using the Clone Tool in Gimp. Use Text Boxes and Arrows.
During:
- The clone tool
 is used to copy information from one part of a picture to another. It is often used to hide something you do not like or to fill in a gap or
imperfection in a photo.
is used to copy information from one part of a picture to another. It is often used to hide something you do not like or to fill in a gap or
imperfection in a photo. - Open GIMP - Click file and new
- Click Template and 800X600
- Right click on the picture of the butterflies. In GIMP click edit and paste.
- Click on the clone brush
The clone brush works by selecting an anchor point. Move the mouse to one of the
butterflies that you would like to copy, then press the Ctrl Key and click. Select the Circle Fuzzy (19) brush, then move the cursor to the area of the photo where you would like to add the butterfly.
- Press and hold the left mouse button down, and move the mouse over the new area.
- Duplicate this process, and select different anchor points as needed
- Experiment with the zoom, and and the brush size.
- In the second photo copy one of the deer to a new location.