SOLs - C/T6-8.2, 6-8.9
Picture 1
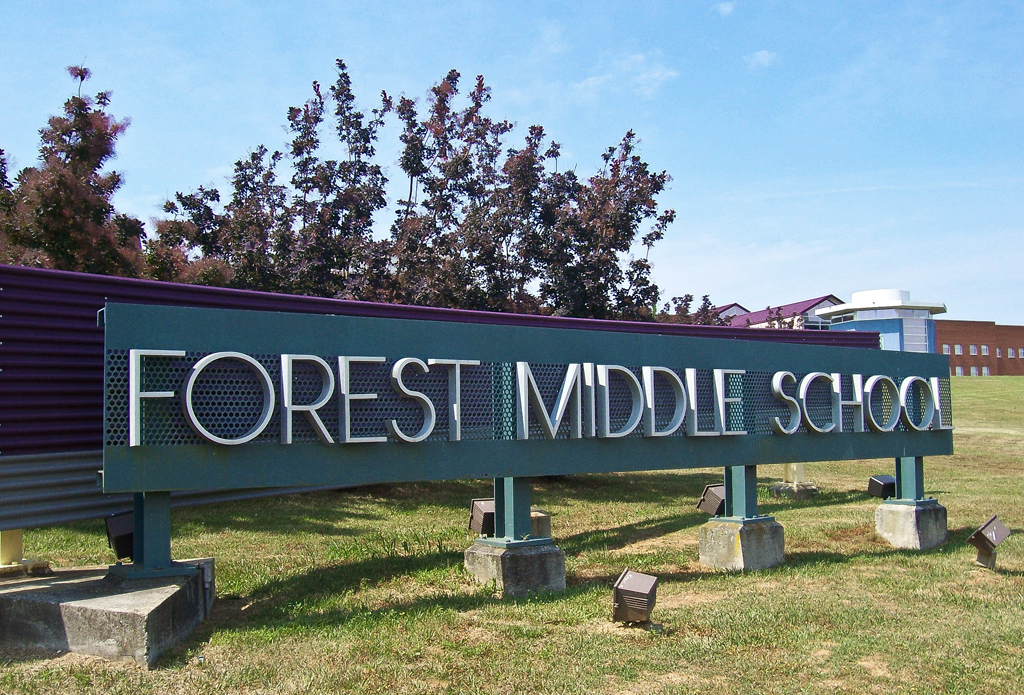
Picture 2

Final Image

Objective
The learner will be able to use layers to create an image that combines a knight logo with a photo of the FMS sign.
GIMP Concepts and Tools
- Width and height
- Layers
- Rectangle Select
- Move
- Scale
- Copy and Paste
- Select by Color
Instructions
- Open GIMP
- Click File then New
- Select a width of 1024 and a height of 695
- Copy and paste picture 1 of the FMS sign
- Click File then New
- Select a width of 600 and a height of 600
- Copy and paste picture 2 of the knight
- On the menu at the top click Layer then select Anchor Layer (If this is grayed out - it means that the layer is already anchored.
- In the Toolbox select the Select by Color tool.
- Click one time on the white area of the picture. This selects all of the white color.
- On the keyboard click Ctrl I.
- On the menu at the top select Edit then Copy.
- Go to your picture of the FMS sign.
- On the menu at the top select Edit and Paste.
- Move the knight to the upper right and use the Scale tool to change its size to fit in the sky.
- On the keyboard press Ctrl L to get the Layers panel
- At the top of the layers panel adjust the opacity to 5%
- Anchor the layers - Save - Make sure your assignments has been checked.